Mood boards
Mood board software for interior design: what to look for
Updated October 5, 2026
The short answerGood mood board software lets you drop in photos, notes and sketches, arrange them freely, and share the board as an image. For interior design it helps when the board also holds your 3D design and can turn references into a composed room. In uMake, a Space is an infinite board for exactly that, with AI tools for compositions, palettes, textures and a consistent style.
What a mood board tool needs to do
Mood boards range from a pinboard of photos to a full presentation. For interiors, these are the things that matter most:
| Need | In a uMake Space |
|---|---|
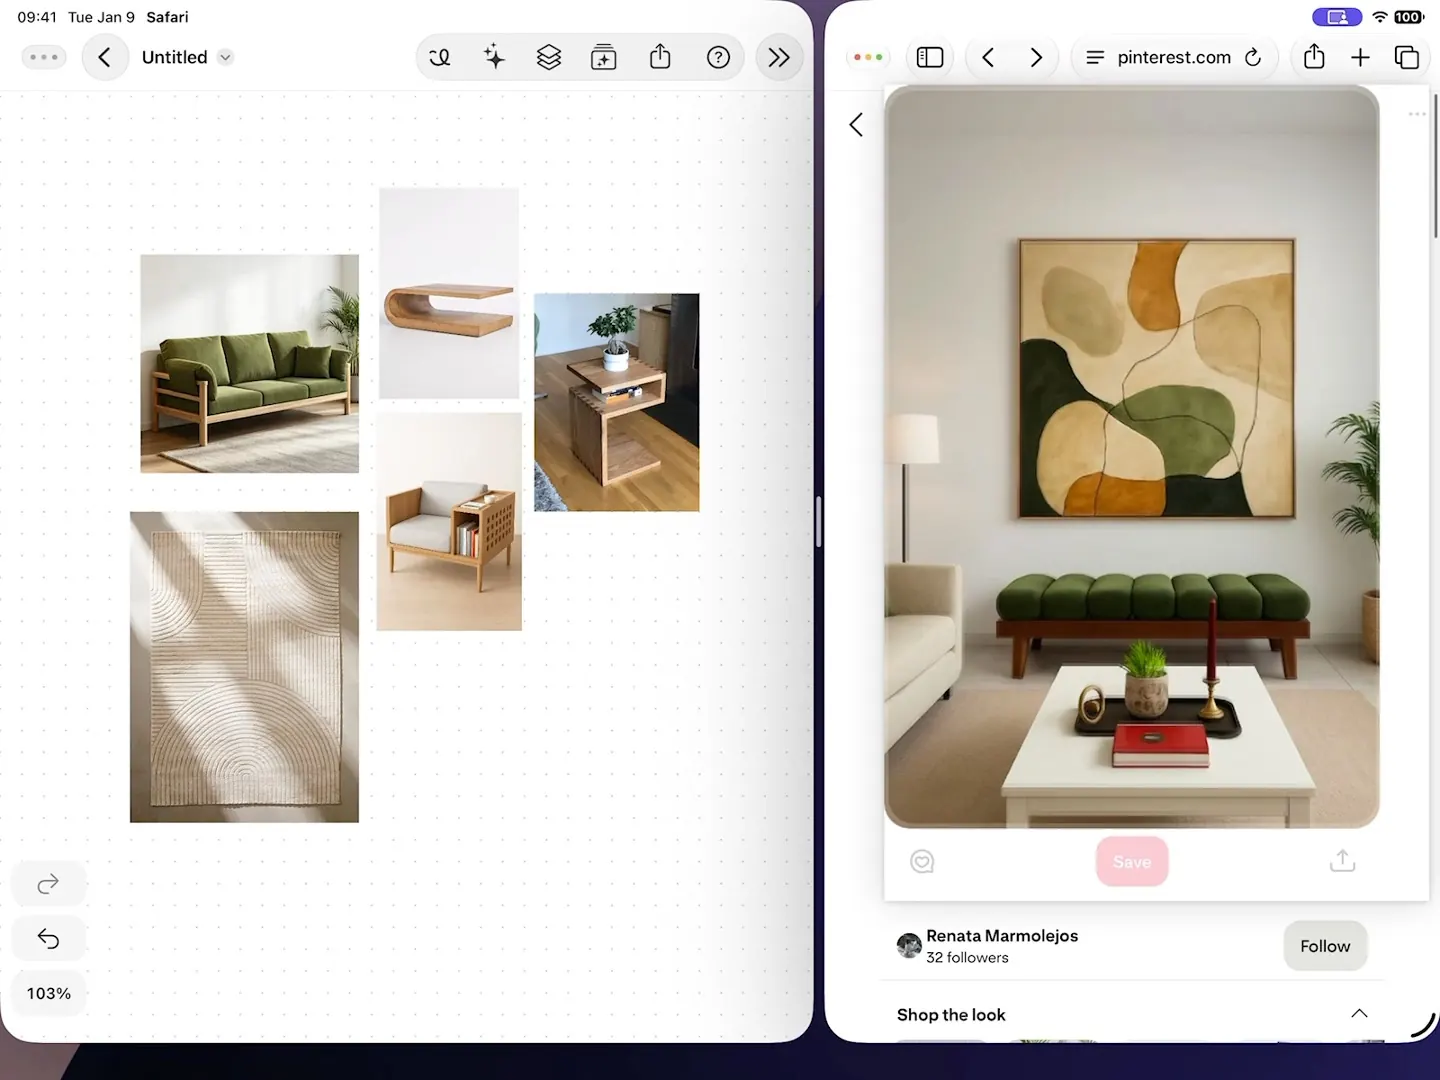
| Collect references fast | Photos, camera shots, videos, sticky notes and text; drag images in from other apps in Split View |
| Sketch over things | Doodle with a finger or Apple Pencil: pens, markers, eraser and lasso |
| Keep it organized | Named layers you can hide, lock and fade, grouped up to three levels deep |
| Show the actual design | Your uMake 3D designs as live cards you can orbit on the board |
| Pull it together | AI tools: Compose a Scene, Apply Style, color palettes and custom textures |
| Share it | Export the board as a PNG for anyone, or a UMKS file for anyone with uMake |
Build an interior mood board in a Space
1. Start a Space and gather references
Create a Space from the home screen, then add photos from your library, take pictures straight onto the board, or drag references in from a browser in Split View. Sticky notes and text hold the brief, client comments and product names (Help: Notes, photos & media).
2. Sort it into layers
Put furniture, materials, lighting and notes on their own layers, so you can hide one or compare two options side by side. To work over a floor plan or a photo of the room, select it and choose Use as Underlay: it moves to a faded, locked layer at the bottom, ready to trace or doodle over (Help: Layers). AI Design Partner can tidy up too, if you ask it to “put all the furniture on its own layer and lock it”.
3. Put the 3D design on the board
Place a uMake 3D design on the board as a live card and orbit it right there, next to the fabrics and photos. Choose Edit to open it in the full 3D editor; your changes come back to the board (Help: 3D designs in a Space).
4. Turn references into a room
Open the AI Tools panel with the sparkles button. These are the tools a mood board uses most:
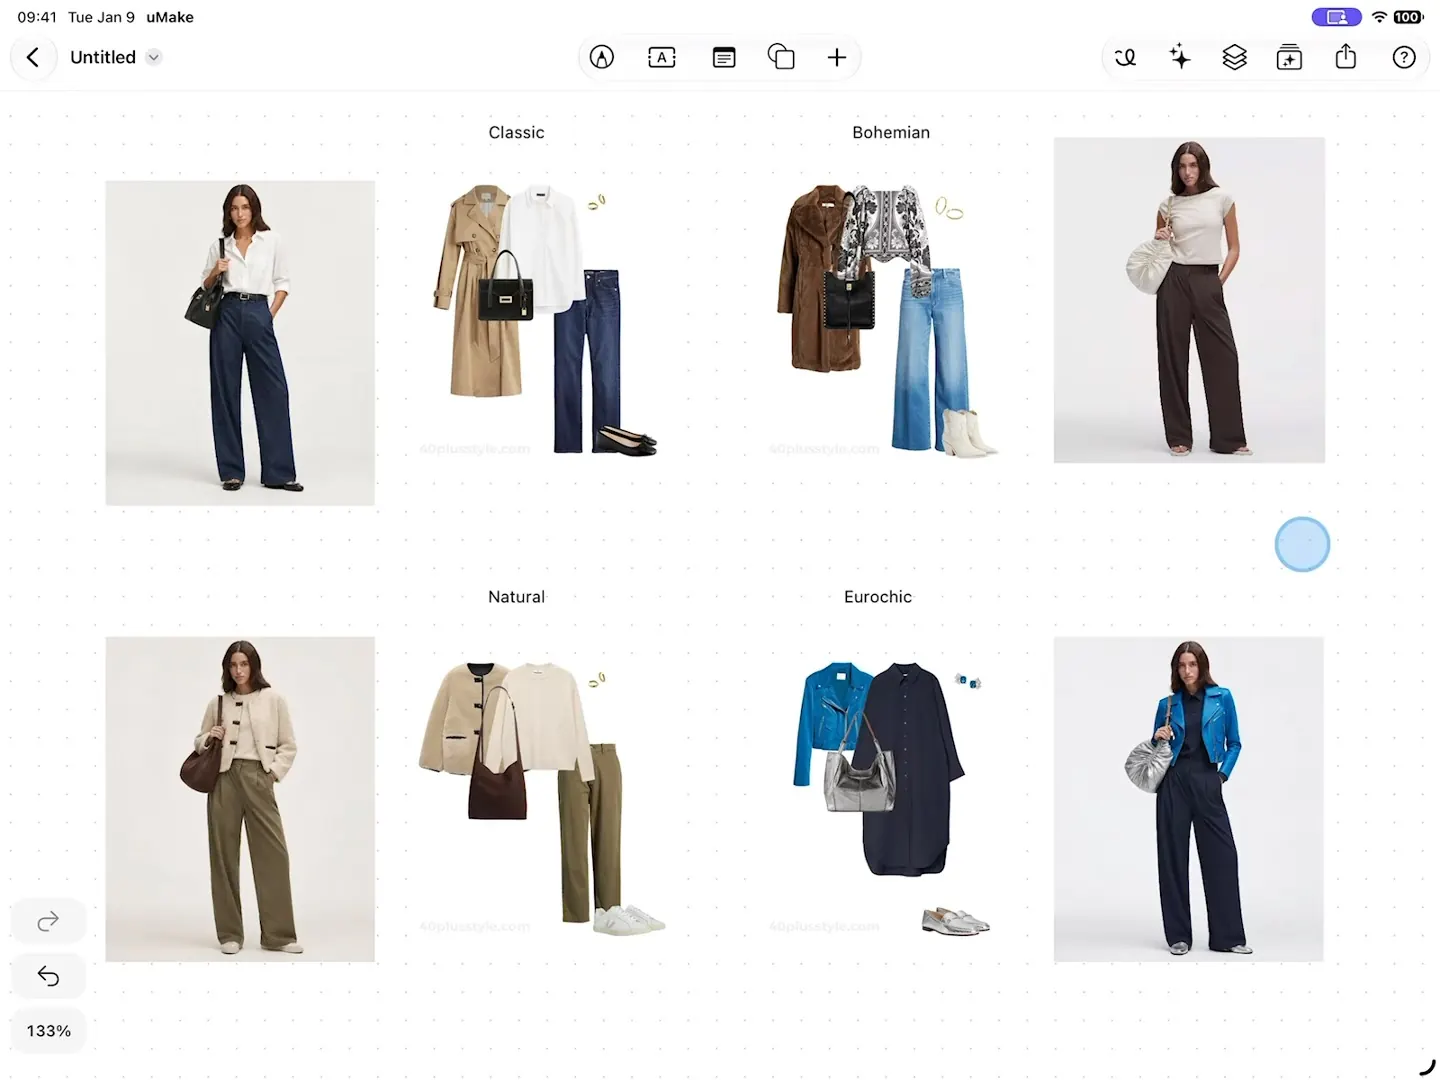
- Compose a Scene: select two to six items, such as a sofa, a lamp and a rug, and get them in one image, placed beside the sources, which stay unchanged.
- Save as Style and Apply Style: save a look from up to six items, then apply it to other images, so the whole project keeps one visual language.
- Generate color palettes: editable swatches from a description, or extracted from a photo. Lock a favorite color and add the palette to the Space.
- Create custom textures: seamless textures from words, as a coordinated material set or variations of one material. They are images, not PBR maps.
- Variations: several directions for one image, keeping the same subject.
Save the palettes and texture sets you like with Save set. They stay in Saved sets, ready for the next project, and Try on image applies one to a selected image (Help: Reuse saved palettes and textures).
5. Present and share
Lay options out next to each other and hide a layer to compare them. Presentation Set turns one image into hero, detail and in-context views, added as a grouped board. When it’s ready, export the board as a PNG to send to anyone, or a UMKS file for a collaborator with uMake.
Where a Space fits, and where it doesn’t
A Space is a free-form infinite board rather than a page-layout tool, and a board exports as one PNG. Its strength is that the mood board, the 3D model and the renders live in the same app, so the board can grow from first references to a design you can model, render with Live AI Preview and bring to life in Scene Studio.
What you need
Spaces, notes, photos, doodles, layers and the underlay are free, and a few Spaces are free; a plan makes them unlimited and unlocks editing 3D designs. The AI tools draw on AI credits: a monthly allowance with a paid plan, and a one-time grant on Free (compare plans). Spaces work on iPad, iPhone, iPhone Duo and a Mac with Apple silicon.
Is uMake free for mood boards?
The board itself is free: notes, photos, doodles, layers and the underlay. Free accounts have a limited number of Spaces, and a plan makes them unlimited. The AI tools use AI credits. See pricing.
Can I make a mood board on iPad or iPhone?
Yes. Spaces work on iPad, iPhone and a Mac with Apple silicon, and on iPhone Duo the open phone gets the larger iPad workspace.
Can I trace over a floor plan on the board?
Yes. Select the plan and choose More › Use as Underlay. It moves to a faded, locked layer at the bottom, and you doodle over it.
How do I share a mood board with a client?
Export the Space as a PNG, which anyone can open, or as a UMKS file for someone who uses uMake.
Try it in uMake.
uMake is free to download for iPad, iPhone and Mac.