AI rendering
AI 3D rendering: how to render a 3D model with AI
Updated October 5, 2026
The short answerAI 3D rendering takes a view of your 3D model and generates a finished-looking image from it, with materials, light and setting, in seconds instead of minutes or hours. In uMake, Live AI Preview renders your design beside the model and updates after each change, and you choose how faithful or how free the render is. For exact light and shadows, the classic renderer is in the same app.
What “AI rendering” means, and what it doesn’t
A classic renderer calculates light bouncing off your exact geometry and materials. An AI renderer looks at a view of your model and paints a believable image of it. Both have their place:
| Classic rendering | AI rendering | |
|---|---|---|
| What it uses | Your geometry, materials and lights | A view of your model, plus your words or a reference image |
| Speed | Depends on the scene and settings | Seconds per image |
| Accuracy | Exact: what you modeled is what you see | Interpreted: details can change, more so at high creativity |
| Best for | Final checks, sun studies, technical looks | Exploring looks, quick client images, moods |
“AI-accelerated rendering” is used for both ideas: AI that speeds up a classic renderer, and AI that generates the image itself. uMake does the second, and keeps a classic renderer next to it.
Live AI Preview: a render beside your model
In the 3D editor, Live AI Preview splits the canvas. You keep modeling on one half, and the other half shows a photorealistic AI render of your design that updates after each change. Type in “Describe the look…” to steer it, drag a render onto the canvas, or save it to Photos (Help: Live AI Preview).
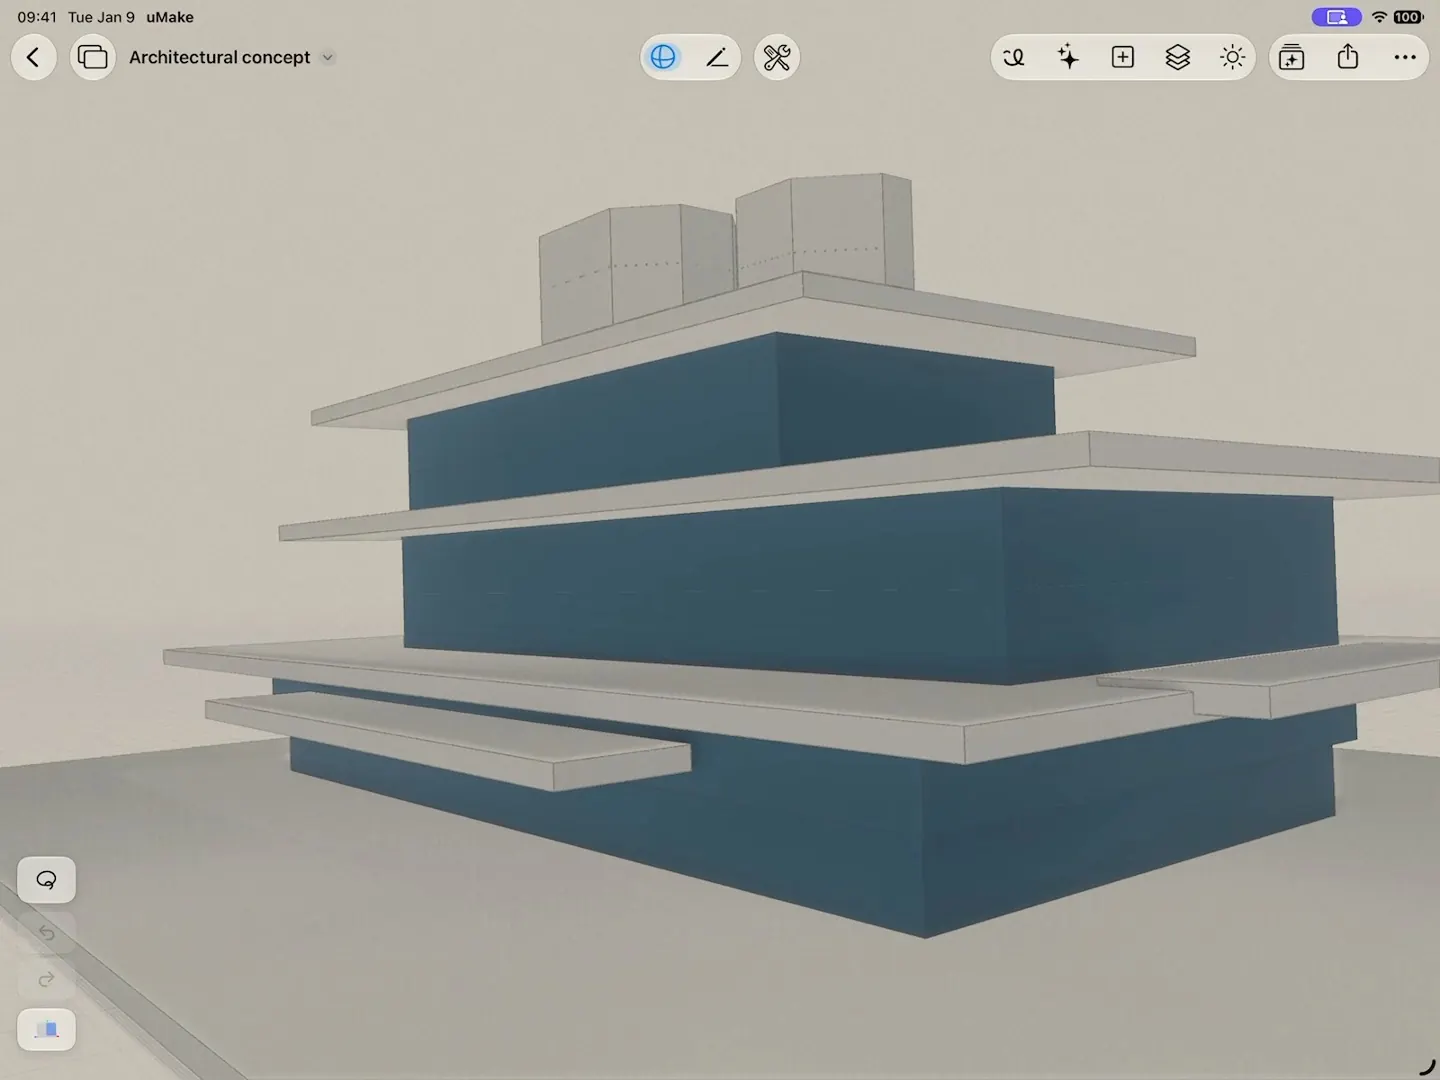
Controls that matter
- Creativity: low values stay faithful to your geometry, high values give the AI more freedom.
- Presets: Photorealistic, Clay, Product Shot, Sketch and Blueprint.
- Enhance re-renders the frame you’re looking at in higher fidelity, with the same composition.
- 4 Views renders Front, Side, Rear and 3/4 views of the design at once.
- Match a Style… adopts the style of an image you pick, until you clear it.
- Place in a Photo… renders your model into a photo of a real scene.
Keep Creativity low while you check proportions, and raise it when you want ideas for materials and mood. If a detail must stay exactly as modeled, judge it in the model or a classic render, not in an AI image.
Classic HQ renders, in the same app
The Render panel lights the model itself: environment light with intensity, rotation and blur, soft shadows, a ground shadow, and a sun set by time of day, season and north, with shadows that follow it. PBR materials give surfaces their roughness, metallic, color and emissive finish, and visual styles such as Architectural Clay, Technical Ink, Paper Sketch and Blueprint give technical looks. Export a Hi-Res Image from the share menu (Help: Rendering).
From a still to a clip: Scene Studio
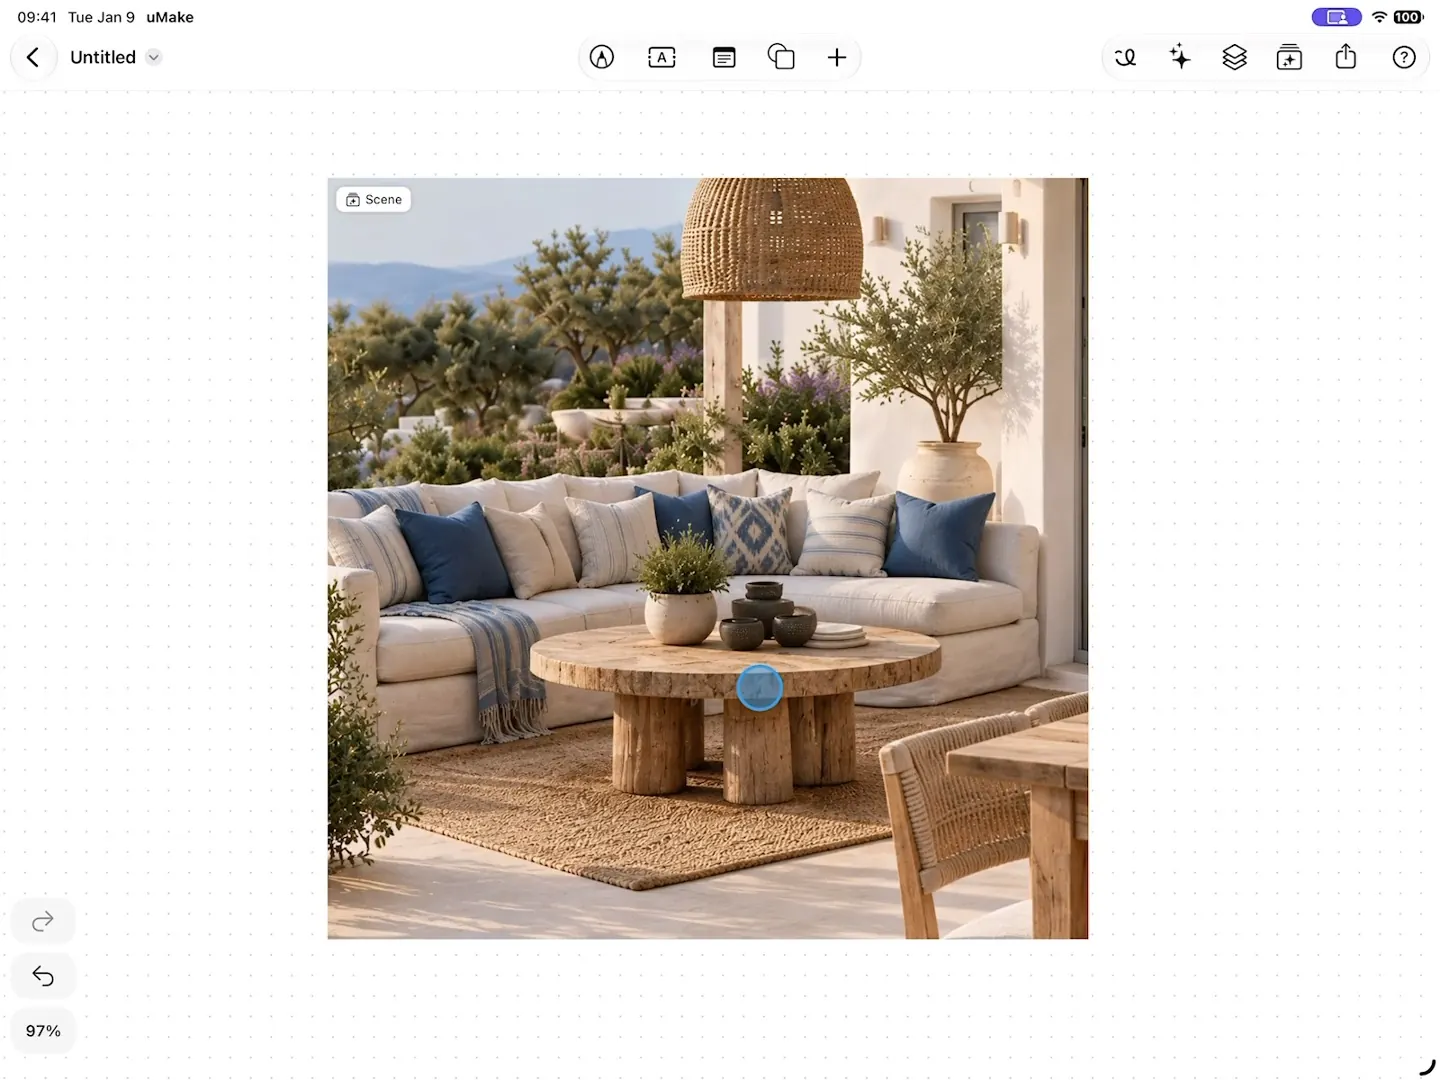
Scene Studio starts from an image in your Space, or a scene you describe. Tap an object to move, rotate, resize or recolor it, change its material or remove it. Lighting sets the time, season or weather, and Camera explores viewpoints with presets and a 360° orbit. Each change becomes a short clip on a timeline, and the whole story saves as an MP4 video (Scene Studio).
Rendering a sketch, too
AI rendering doesn’t need a finished model. In a Space, Live Preview renders the board beside you and follows your strokes as you doodle, so a rough sketch of a chair or a room comes back as a rendered image while you draw. Describe the look in the prompt field and tap Enhance for a higher-quality version.
A quick workflow
- Model the form in the 3D editor, or ask AI Design Partner to build a start from words or a reference image.
- Open Live AI Preview, pick a preset and set Creativity.
- Describe the look you want, or Match a Style from a reference.
- Use 4 Views for a turnaround, or Place in a Photo for context, then Enhance the image you’ll present.
- Drag the best renders into a Space, and take one into Scene Studio for a short film.
What you need
Live AI Preview comes with a paid plan, and AI images and clips draw on the plan’s monthly AI credits. A clip uses more than an image. Free accounts get a one-time grant of AI credits to try the AI tools, and the Education plan includes everything except an AI allowance (compare plans). uMake runs on iPad, iPhone, iPhone Duo and a Mac with Apple silicon.
Is an AI render accurate to my model?
Close, not exact. At low Creativity the render follows your geometry closely; at high Creativity the AI takes more liberties. For exact light, shadows and dimensions, use the classic renderer and the model itself.
Can I render my model into a real photo?
Yes. In Live AI Preview, Place in a Photo… renders your model into a photo you pick, such as a room or a site. See Help: Style, Photos & 4 Views.
Can I make videos, not just stills?
Yes, with Scene Studio. Each change to a scene becomes a short clip, and the whole story saves as an MP4 video. Clips use more AI credits than images.
Does AI rendering work offline?
No. The AI renders run in the cloud and need a connection. Sketching and modeling work offline.
Try it in uMake.
uMake is free to download for iPad, iPhone and Mac.