How to Use Lighting Fixture Libraries in 3D CAD
2025年4月6日
Lighting fixture libraries in 3D CAD streamline design by offering pre-built, accurate models of real-world lighting products. These libraries save time, improve precision, and enhance visualizations, making them essential for architects and designers. Here's what you need to know:
Why Use Them?
Speeds up design by up to 60%.
Enables testing 4x more design variations.
Provides realistic lighting effects for better client communication.
Where to Find Libraries?
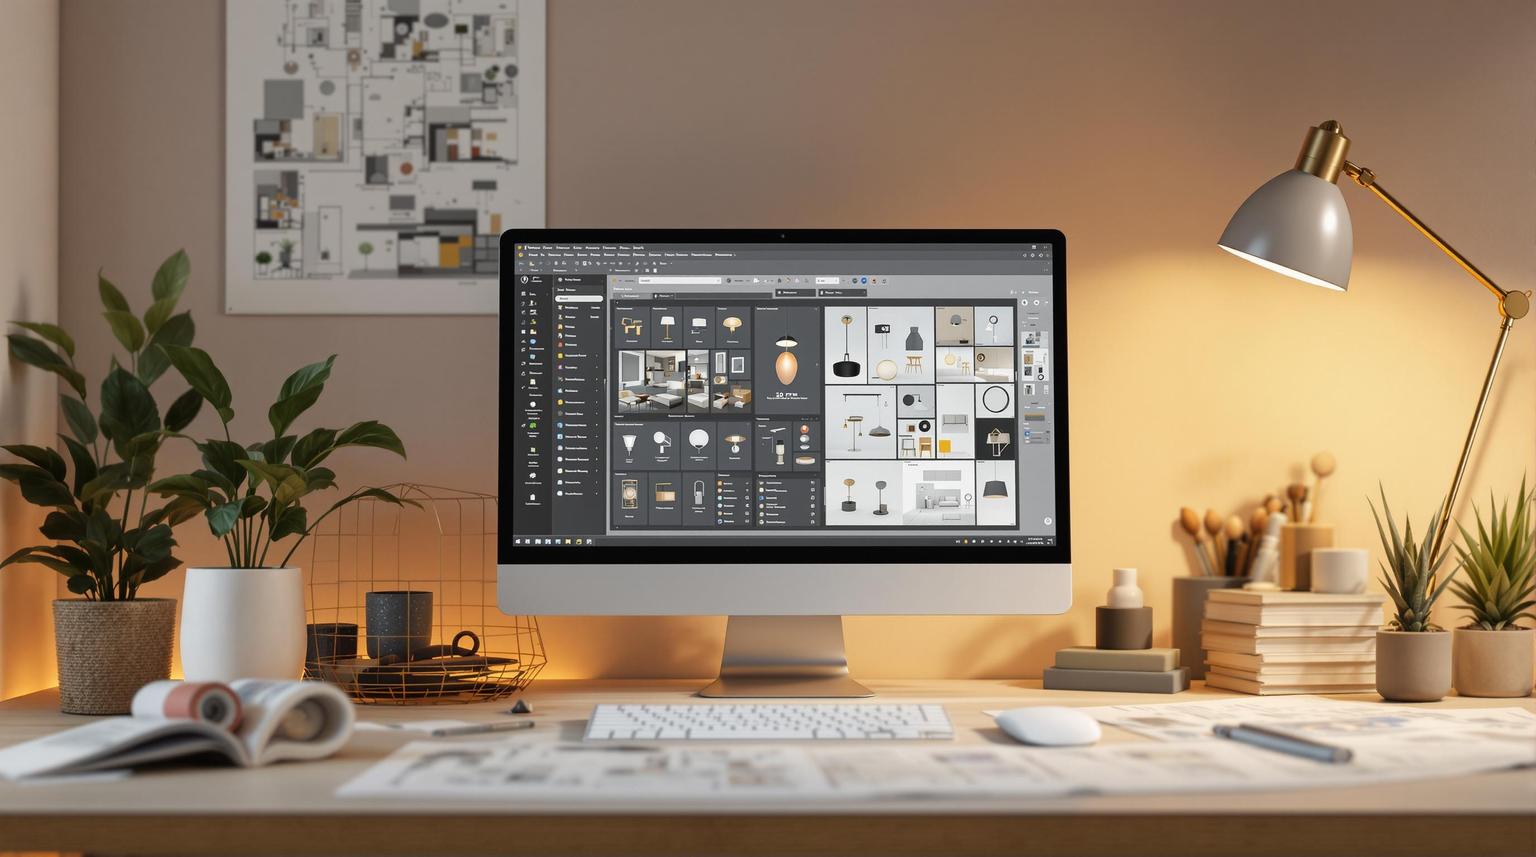
Tools like uMake offer built-in libraries with ready-to-use models.
Look for accurate dimensions, high-resolution textures, and optimized file performance.
How to Use Them?
Import models directly into your project.
Adjust placement, size, materials, and lighting settings (e.g., brightness, color temperature).
Best Practices
Organize fixtures by layers (ambient, task, accent lighting).
Use tools to tweak shadows and light intensity for realism.
Present designs with multiple perspectives to showcase lighting effects.
Lighting fixture libraries are a game-changer for creating precise, visually stunning designs in less time.
AutoCAD 2021 Using Blocks and AutoCAD Design Libraries
Finding Lighting Fixture Libraries
High-quality lighting fixture libraries make it easier to create realistic interior designs by providing ready-to-use, accurate models that simplify 3D CAD workflows.
Library Sources
uMake's built-in model library offers instant access to a wide range of lighting fixtures for both interior and exterior design projects. This library lets designers quickly find and use lighting solutions without leaving their design environment.
When looking for lighting fixture models, keep these factors in mind:
Model accuracy: Dimensions and specifications should match real products.
Texture quality: High-resolution materials ensure realistic rendering.
File optimization: Look for models designed for smooth performance.
Frequent updates: Libraries that are regularly updated provide more options.
Next, ensure the file formats of these models work seamlessly with your design tools.
Supported File Types
Understanding which file formats are compatible is crucial for a smooth workflow. Below is a quick guide to common 3D model formats for lighting fixtures:
File Format | Best For | Typical File Size |
|---|---|---|
OBJ | Static models with materials | 2–10 MB |
FBX | Animated fixtures or complex assemblies | 5–20 MB |
3DS | Older software compatibility | 1–5 MB |
STEP | Precision and manufacturing | 10–30 MB |
Choose file formats based on your project's needs, file size limits, and material compatibility.
uMake is widely used by architects, interior designers, and product designers, ensuring its model library and workflow meet professional standards.
Adding Lighting Fixtures to Your Project
After you've found a compatible model file, follow these steps to seamlessly integrate it into your design.
Import Steps
Open uMake's model library and go to the Lighting Fixtures section.
Choose a fixture by clicking on its thumbnail.
Check the details, then click Import to add it to your workspace.
Placement and Size Adjustment
Use uMake's alignment tools to position fixtures precisely where you want them. Adjust their size with the precision controls to ensure they fit perfectly within your project's scale.
Model Adjustments
Customize the fixture's look by tweaking its material and color settings. You can choose from materials like metallic, glass, or plastic, and finishes such as bronze, nickel, or brass.
Adjustment Type | Available Options |
|---|---|
Material | Metallic, glass, plastic |
Color | Bronze, nickel, brass |
Managing Lighting Fixtures
Layer Management
Organizing your layers is key when working with multiple lighting fixtures in complex designs. Assign specific layers to different types of lighting - like ambient, task, and accent lighting - to keep everything structured and easy to manage. Here's an example of how you might set up your layers:
Layer Type | Purpose | Common Elements |
|---|---|---|
Ambient Lighting | General room illumination | Ceiling fixtures, recessed lights |
Task Lighting | Focused lighting for tasks | Under-cabinet lights, desk lamps |
Accent Lighting | Highlighting decor or art | Wall sconces, art lights |
With uMake's tools, you can toggle layer visibility to concentrate on particular lighting elements. This method helps you fine-tune your designs and ensures better control over light and shadow placement.
Light and Shadow Settings
Creating realistic lighting effects can make your visualizations stand out. uMake offers tools to tweak essential lighting settings for each fixture, including:
Light Intensity: Adjust brightness levels to suit your design.
Color Temperature: Shift between warm (2700K) and cool (6500K) tones for the desired ambiance.
Shadow Quality: Modify shadow softness and depth to enhance realism.
These settings allow you to craft well-balanced lighting schemes that bring your designs to life.
Lighting Design Guidelines
Fixture Selection Guide
Pick lighting fixtures that suit both the function and look of the space. Pay attention to the fixture's style, placement, and how it distributes light to create a balanced design. Tools like uMake make this process easier by allowing you to precisely position fixtures in your 3D models. Plus, the freehand features let you experiment with different lighting ideas before finalizing your choices.
Design Presentation
Once you've chosen your fixtures, presenting your design clearly is key to helping clients picture the final outcome. Show various perspectives to demonstrate different scenarios - like changes in lighting conditions, setups for specific tasks, or accent lighting effects. These views can emphasize shadow patterns and how light is distributed throughout the space.
uMake's Spaces feature takes presentations to the next level. It lets you blend 3D designs with real-world photos, view lighting effects from multiple angles, and compare design versions side-by-side. Teams using these methods have reported up to 60% faster transitions from concept to visualization. The ability to explore up to four times more iterations makes it easier to deliver a design that meets client expectations.
Conclusion
Incorporating lighting fixture libraries into 3D CAD workflows has made processes smoother and improved accuracy. These tools not only make ideation faster but also allow for more design variations to be tested and refined. This shift has significantly influenced how professionals approach lighting projects.
Beyond just saving time, 3D lighting design tools help bring creative ideas to life as detailed 3D concepts. Many users have shared how these tools have changed the way they approach design.
Today, more than 30,000 designers and businesses worldwide use these tools to precisely position fixtures, try out different lighting setups, and present immersive visuals that help clients clearly imagine the final result.


